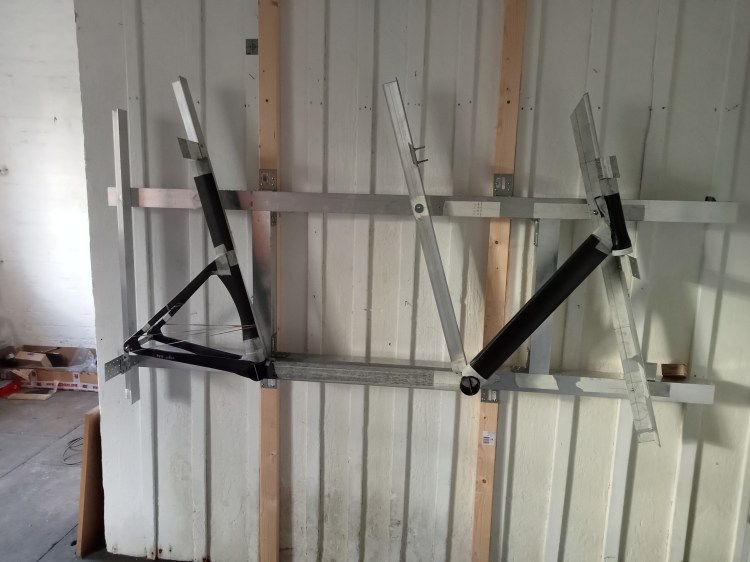
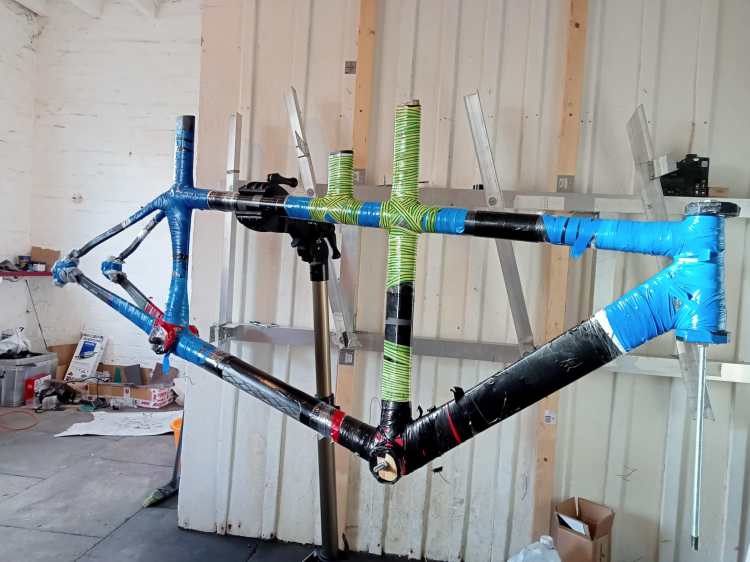
This time I had the advantage of a frame jig from the beginning and the experience of the gravel frame build so I measured and cut the tubes more confidently and everything assembled quickly compared to the first build. Cutting the oval aero profile tubes was a new experience but making paper templates to guide the cutting worked ok when combined with lots of patience.
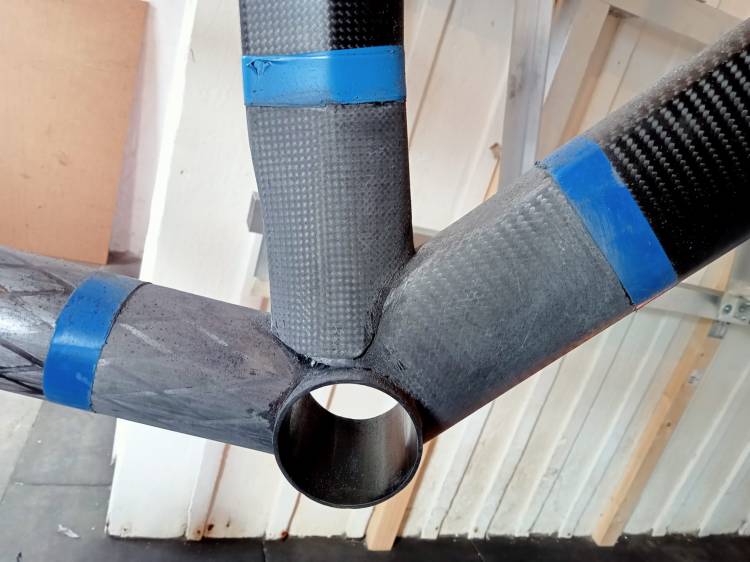
Tubes ends are notched to fit together with the correct geometry and glued together while held in place in the jig. The surfaces are first sanded and prepared. The joints are then wrapped with carbon cloth and reinforcing tapes to create a strong joint.
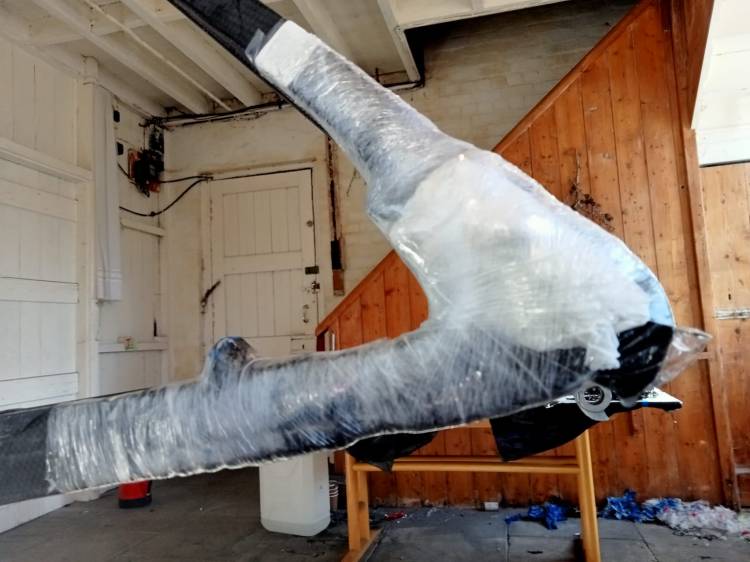
To make the unwrapping process easier after carbon wrapping the joints, I wrapped the wet joints in shrink wrap popped with lots of holes in it, a breather ply, then wrapped it tight with electrical tape. Removing the wrappings after the resin had cured was much quicker and easier this way.
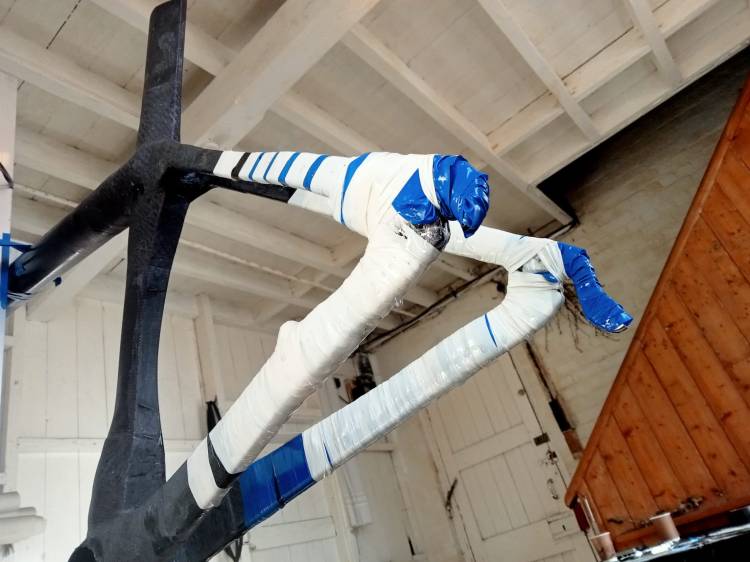
The joints were strengthened individually with each joint strengthened twice to achieve better compaction of the carbon cloth while the resin cures.
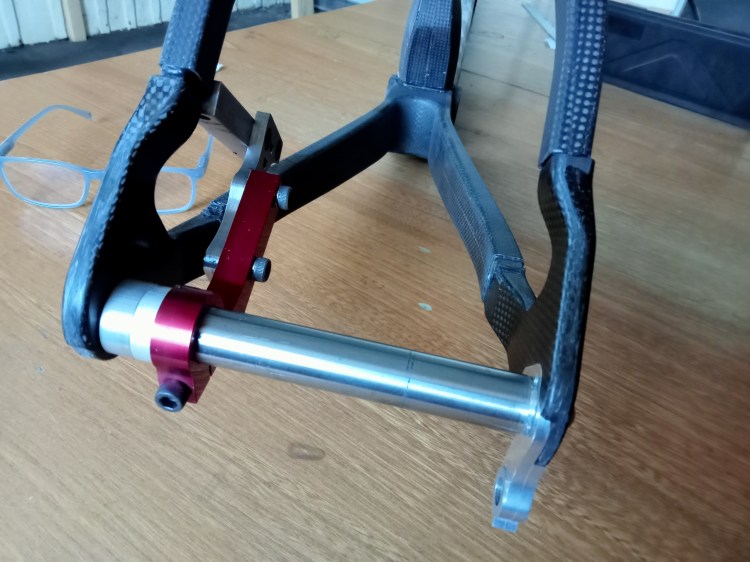
The 203mm disc rotors only just fit within the chainstays which was more good luck than planning but I’ll take my luck where I can. Again I set the post mount fittings to straddle across the seat and chain stays to create some structural triangulation and spread the loading over both stays.
I left the seat tubes long so they could be finished as integrated seat posts cut to size to match our sizes and leave a very clean lined finish, custom made to fit us correctly.
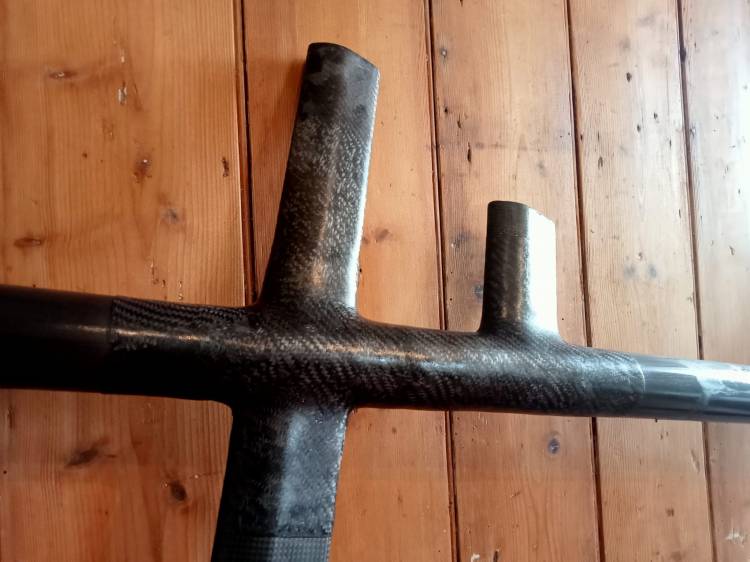
The handlebar mount post for the stoker had to be aero too to maintain the aerodynamic front profile and styling. The stoker aero handlebars had to be carbon wrapped to an aero insert to mount the bars in place. The height and reach were first copied from the previous frame set up that was the most comfortable.

