Today’s high end aero road bikes have beautifully styled carbon frames and include integrated seat masts and integrated hidden hoses so we aimed to emulate those designs. If our road tandem was leaning alongside modern road bikes it should match their design standards and aesthetics.
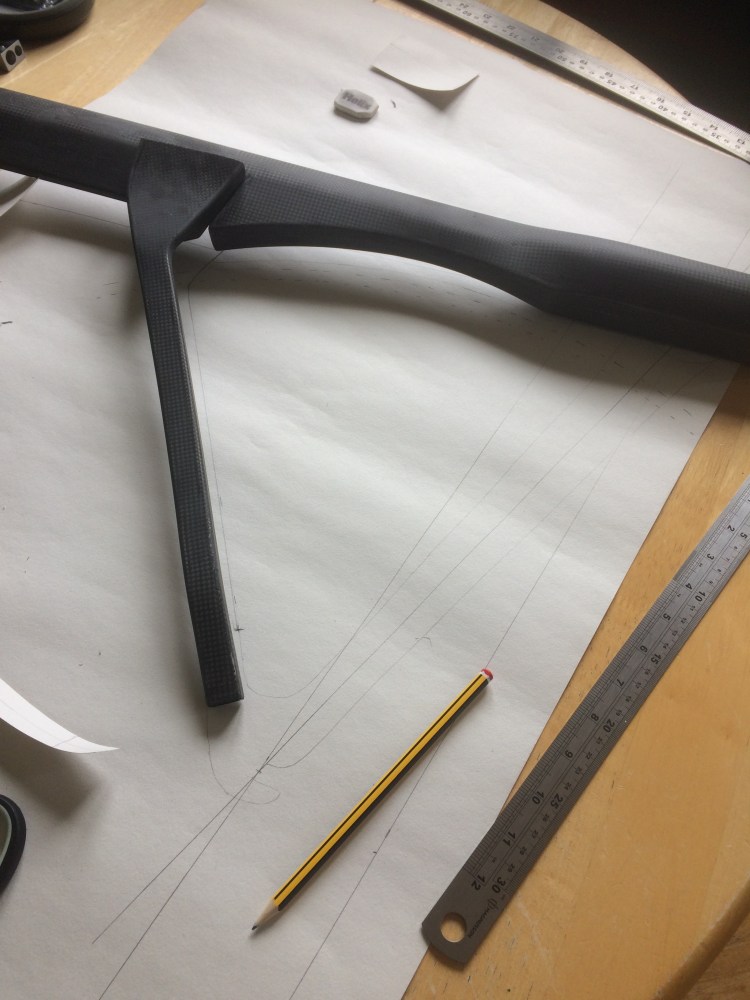
Photo: Variety of tube shapes made planning the design more difficult.
I drew out the frame geometry on a giant piece of white wall paper, drawing all the centre lines first and the geometry vertices, then added the bottom bracket shells, main beam and rear dropouts.

Photo: Working out the rear triangle geometry for the wheel arc to match the curved seat post shape.
Drawing in the aero tubes was more challenging so I made paper templates of the aero tube parts and used the templates to find the right position for the tubes and then used them as cutting templates. It was fun using the school geometry set again, drawing lines, measuring and evaluating. It is a low tech approach but it really helped me visualise how the frame tubes would come together and quickly appreciate how they sometimes wouldn’t. Even when I’ve learned to use Bike Cad software for designing, I think there will still be a place for drawing frames 1:1 sale as a visualisation and cutting guide.
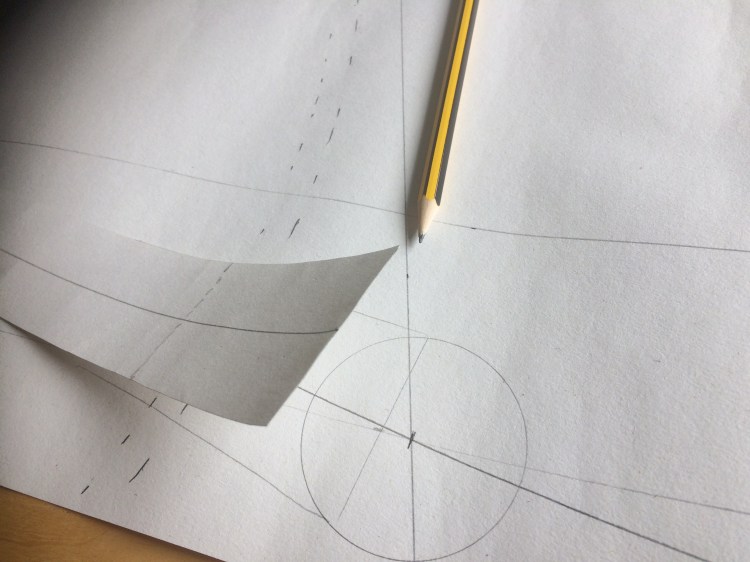
Photo: Using paper templates to visualise and draw a frame plan drawing.
An aero frame should be the most aerodynamic front profile possible to cut through the air so I favoured a large bottom tube for strength while its size would be sheltered behind the bottom bracket shell and a narrower top tube could then be used to match the profile of the top of the tapered head shell. The tandem would have narrow road tyres so 135mm chain stays would be enough and a little more aerodynamic than the popular 142mm width.
