To have any hope of making a tandem frame I knew I would have to draw a 1:1 scale frame plan that would be a cutting guide for all the frame tubes. Without a straightforward plan to follow I’d have little hope of cutting tubes in the right places or bringing all the frame parts together with the correct geometry for it to work. Researching the internet I could see over time that there has been many reinventions of the tandem frame depending on the type of riding or fashions and materials available, and many different ones on the market today. We decided to design a Gravel style frame that could be used on the road or gravel.
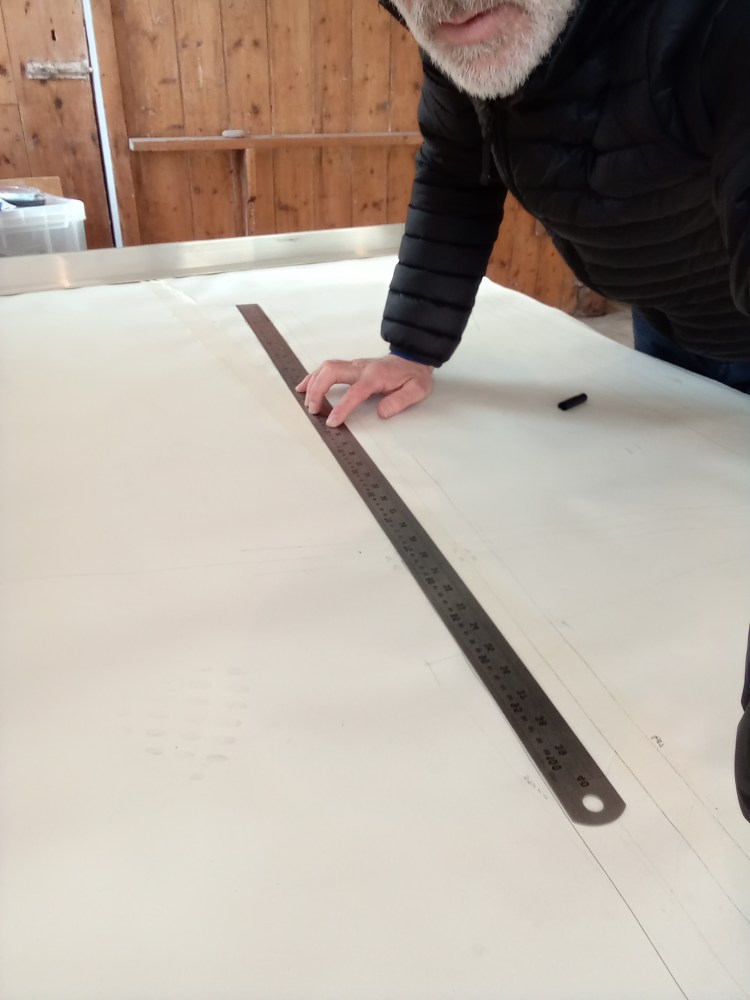
Photo: Drawing tandem frames 1:1 scale.
By drawing frames I could get some insight into the designs and understand them better. All I needed for this was rolls of paper, a big flat surface to draw on, a basic maths geometry set, a one metre rule and a calculator. So cost wasn’t a barrier to progress. I could spend time drawing frame plans and learn as I did so. I enjoyed it too. It soon showed the geometry challenges of creating a frame with the correct top tube height to suit both riders, the right length to make space for both to be comfortable, and a predictable ride quality and aesthetically pleasing shape. It was a challenge to find the right design mix.
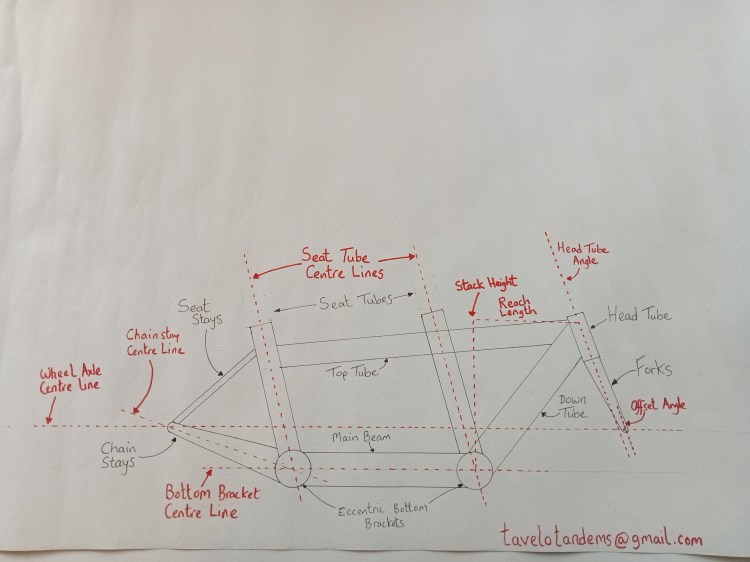
Photo: Tandem frame geometry and frame part names.
It was a great way to learn the language too. Frame parts are their own vocabulary of types of joints, tube parts and geometry features, and learning it through drawing frames helped me learn the lingo and better understand anything I read in research. The language is all part of the heritage, traditions, culture and fun of cycling so it was fun to learn it.
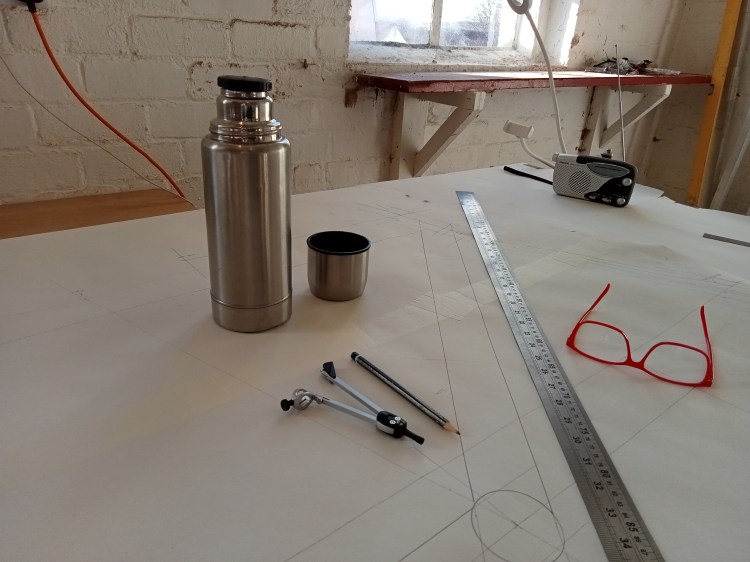
Photo: Drawing a tandem frame with a geometry set, steel rule and lots of coffee.
I found some tandem geometry details online and set about drawing a frame 1:1 scale. A big piece of wallpaper was the only paper I could find large enough. I purchased a school geometry set and began drawing. Applying some basic maths, geometry and technical drawing skills after all these years since school was surprisingly satisfying. So my teacher was right, maths was important and I would use it in life after all. I soon found some off the peg carbon tube suppliers but a frame jig was too expensive.
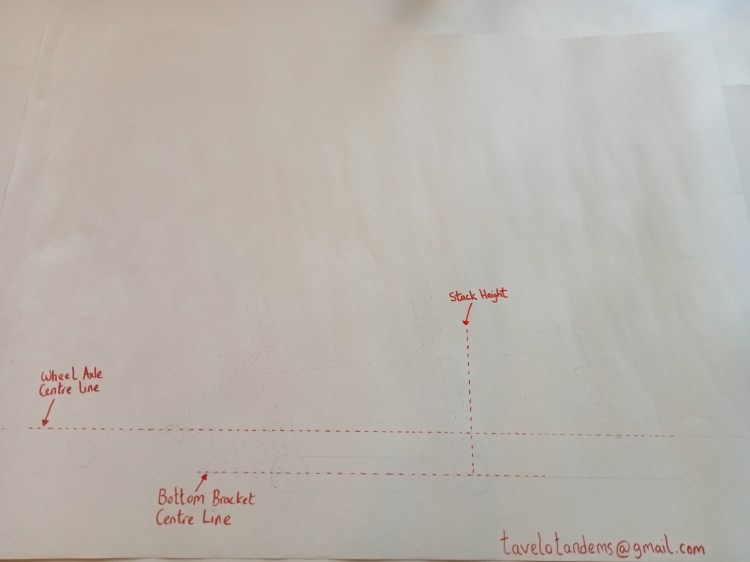
Photo: Setting out frame geometry key measurements first.
To create the frame drawings I first drew out the geometry of the centre lines of the tubes and centre points of the bottom brackets, working from the ground up to create a stick line drawing of the frame and then draw the tubes and shells onto the centre lines to create the full picture. It was a logical way to start from a blank page and get the geometry right then draw in the shapes of the parts around those centre lines.
